If you follow my Five Frugal Things posts each week then you’ve probably seen some of the things I did for my super cheap bathroom makeover a couple of weeks ago but I thought I’d bring them all together in one post today!
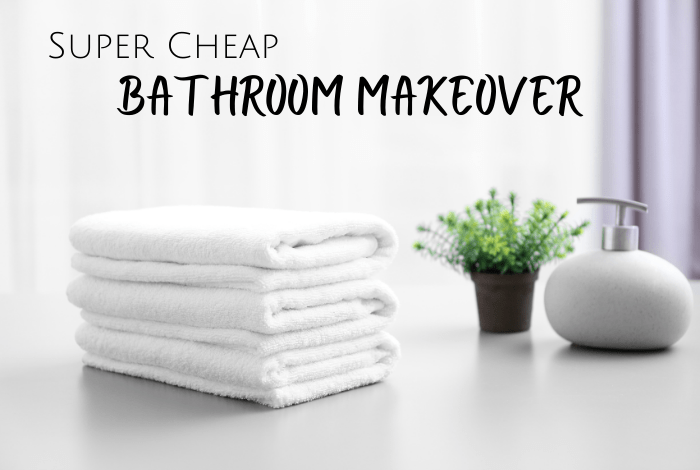
So, first up, I wasn’t planning on a post so I don’t actually have any before pictures but it was very much a blah room – nothing really wrong with it but nothing really right either and it was looking very dated as it’s the only room in the house that’s never had any attention other than a new floor. It’s been top of my list for a makeover for so long but because there was nothing actually wrong with it, it always got pushed down the to-do list to make way for something more important. It’s definitely got the basics with a nice wooden floor and an OK bathroom suite. I did have a good look around at showers as there is only a bath in there right now but I decided not to make any big changes when it came to any plumbing. 😁
I also decided to go with a ‘use what I already had in’ approach seeing as (a) I couldn’t go shopping and (b) I didn’t want to spend much money on my mini makeover.
The walls
So, as much as I wanted a grand feature wall in a dramatic colour, I actually went with the only paint colour that I had in the garage – Brilliant White! I’ve been painting every room in the house white gradually over the last few years so I’ve just been buying the paint in the giant tubs and there was plenty left in my latest one to paint the bathroom so I just went with it. I don’t have my dramatic feature wall but I do have a lovely clean white which is a HUGE improvement over the yellow-toned magnolia that was in there before.
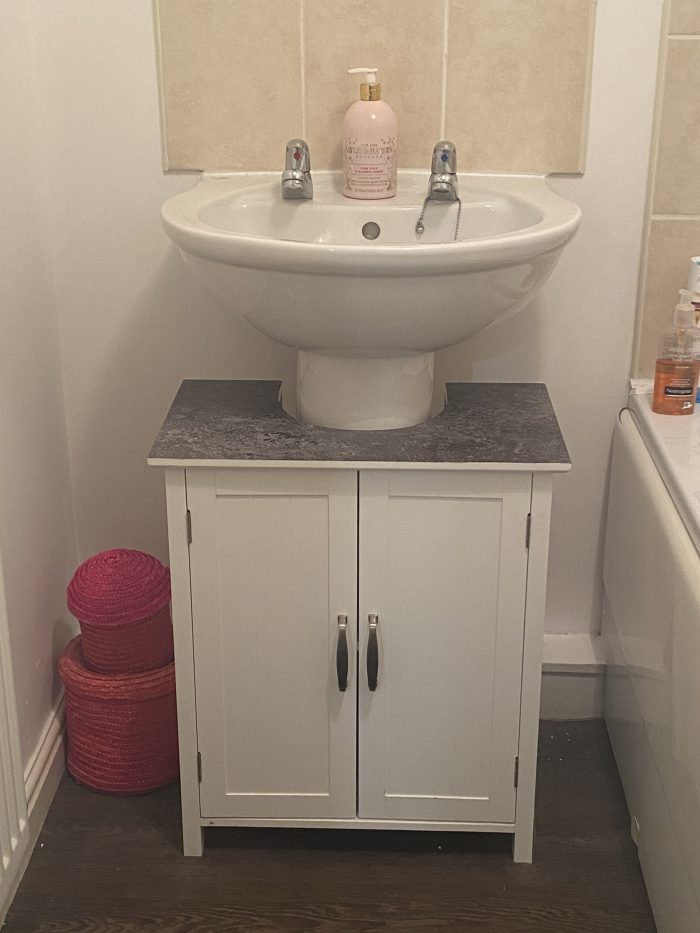
The under-sink cupboard
I bought this a while ago from Argos for about £30 and loved it as it’s somewhere to hideaway all the kids clutter but the paint started to peel on top so I covered the top with a sticky back plastic in a black marble effect. It was so easy to do and took minutes using just a sample of sticky back plastic that I had and a craft knife to tidy the edges up.
The artwork
I really struggled with choosing artwork for the room as I was taking down some canvasses that I bought before Miss Frugal was born and I’ve loved them so much that I’ve just not been able to take them down. I bought them from an art gallery when I walked past them in the window and just fell in love with them which is odd because they’re really abstract – it’s three large canvas in a cream colour with splashes of darker creams, metallic gold and copper paint across the three of them so they flow as one picture despite it being three. I know that sounds odd but honestly, it’s the only piece of art that I’ve ever really wanted to own if that makes sense.
The problem is that the metallic gold and copper splashes are starting to get a bit of a green tinge to them and they just don’t look as good as they did any more so it was time for them to go (only to the garage) and be replaced with something new.
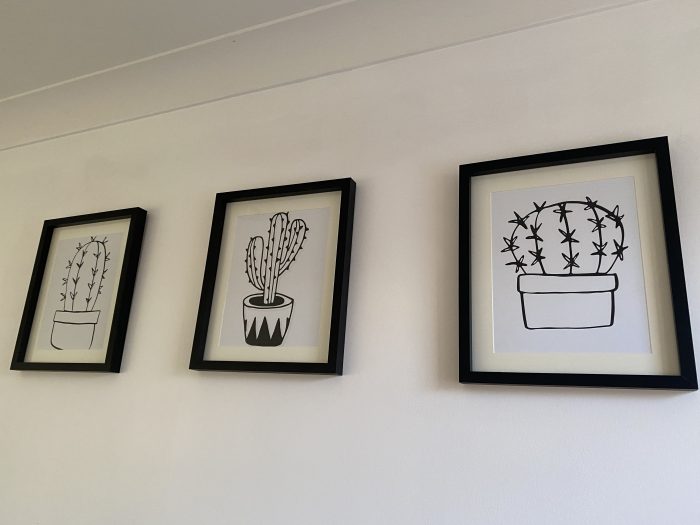
I don’t just want to put anything up in their place though and I know I want some sort of black and white line drawings but nothing I look at online really grabs me so instead, I’ve brought in some black A4 frames from the garage and made some daft cactus prints using Canva.
They’re not perfect and they’re not permanent but they fill a gap, they go with the new look of the bathroom and they didn’t cost anything at all as I made them and printed them out myself.
The fun stuff
You might have seen my Trip Advisor review poster and my forgot your phone poster already but I printed them out and popped them in frames that I already had around the house.
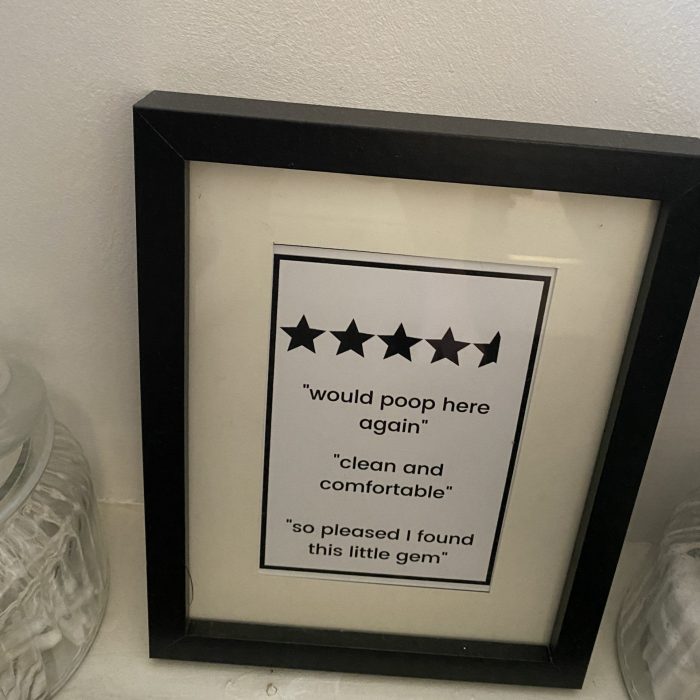
They’re not really where I want them to be as I wanted to pop them up on the back of the bathroom door so you could only see them when the door was shut but the frames I’ve used don’t work with the command strips that I have in so they’re in temporary homes for now.
The stuff I did order online (£15.00)
I wanted a black bathmat as the one I had previously was a white and teal stripe so I ordered a set from Wilko for £10 along with a stainless steel toilet brush that was on sale for £2.
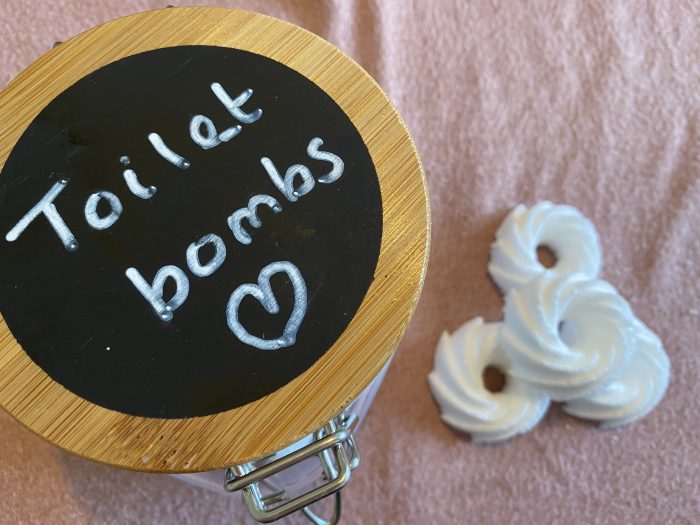
I also bought a glass jar with a chalkboard lid for my toilet bombs which cost £3 so altogether my Wilko order was £15.
I do want to make a few more changes when I have some more time. I have a space behind the door where I think a towel radiator will fit perfectly and I’ve always wanted one so when I can, that’s my next project for in here. After that, I want to think about getting a shower fitted over the bath as the kids much prefer showers and the only shower we have in the en suite which isn’t ideal for any of us.
I’m super pleased with what we’ve done up to now though so happy to leave it for a while though.
Don’t miss out on future posts like this – receive updates directly to your inbox by email by adding your email address here and hitting subscribe. You can also follow me on Twitter or BlogLovin and I’d love to see you over on my Facebook page and on Instagram. If you’re interested, you can find out more about me here and while I’ve got your attention, if you’re wondering why some of my posts lately are a little bit less frugal then have a read of this post. 😉

