Did you catch my post a couple of weeks ago about ways to beat the draughts in your house this Winter?
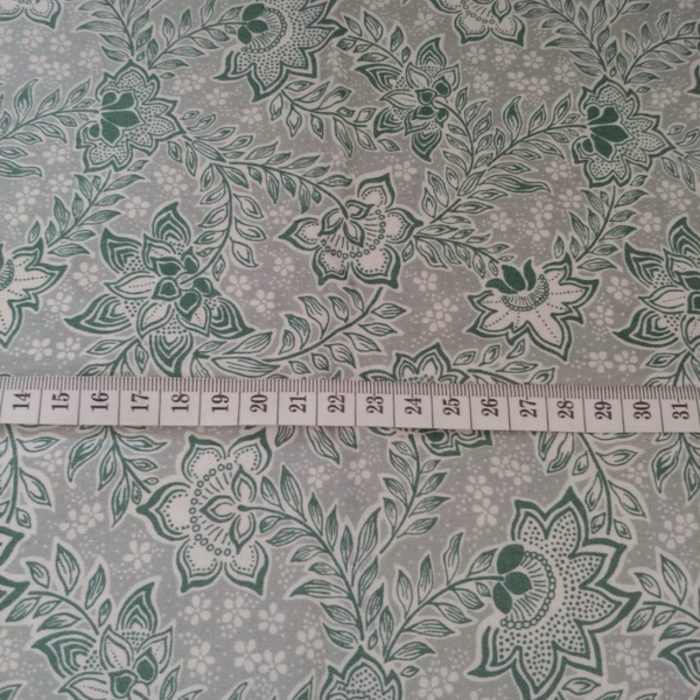
One of the the ideas I shared was to make a DIY draught excluder and I mentioned that I’d just bought some gorgeous Liberty fabric from Vinted which was super cheap as it was a small piece of fabric leftover from someone’s project. It was the perfect size for a draught excluder as it was long and thin so I was really pleased with my bargain.

When the colder months set in, there’s nothing more frustrating than feeling chilly draughts sneaking in under the doors. A simple draught excluder is an easy and affordable way to keep the warmth in and the cold out – and the good news is, you can make one yourself in under an hour with very little cost.
Here’s a step-by-step guide to making your own DIY draught excluder.
What You’ll Need
A piece of fabric, an old pair of trousers or jeans, or a long sleeve from an old jumper
Scissors
Needle and thread (or a sewing machine if you prefer)
Filling: this could be old fabric scraps, rice, dried beans, some cushion filling or even some old socks or tights cut up into pieces
Cushion Piping (I got mine from Dunelm Mill)
Step 1: Measure Your Door
Measure the width of the door you want to make the draught excluder for. You’ll want your finished tube to be slightly longer than the gap to make sure it covers it fully.
Step 2: Prepare the Fabric
Cut your chosen fabric (the trouser leg or sleeve works brilliantly) to the right length, leaving an extra inch or two for sewing. If you’re starting with flat fabric, cut a rectangle about 30cm wide and the length of your measurement, then fold it lengthways.
Step 3: Sew the Tube
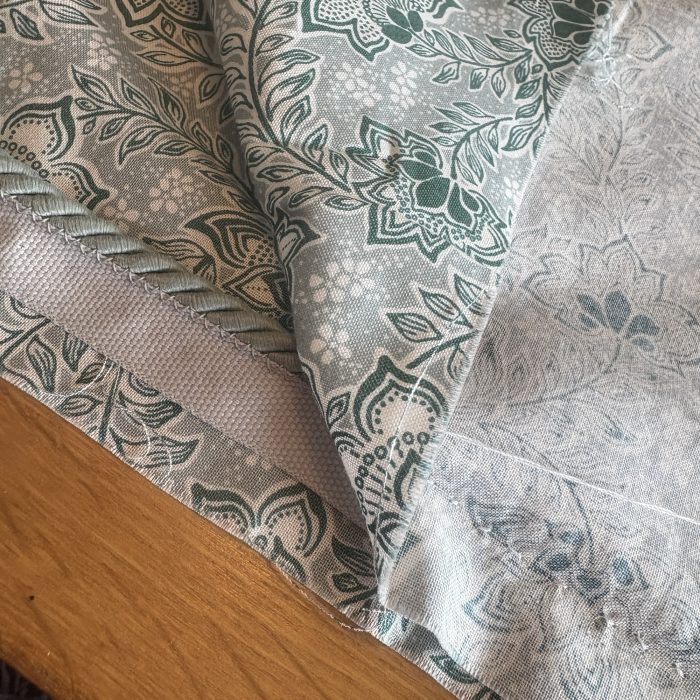
Turn your fabric inside out and pin the edges together – pin the piping in between the edges at this point if you plan to use piping. I did use piping as I wanted to experiment with it ready for a vague plan I have to make some cushions.
Sew along the open side and one end, leaving the other end open for stuffing. Then turn the tube the right way round so the seams are hidden.
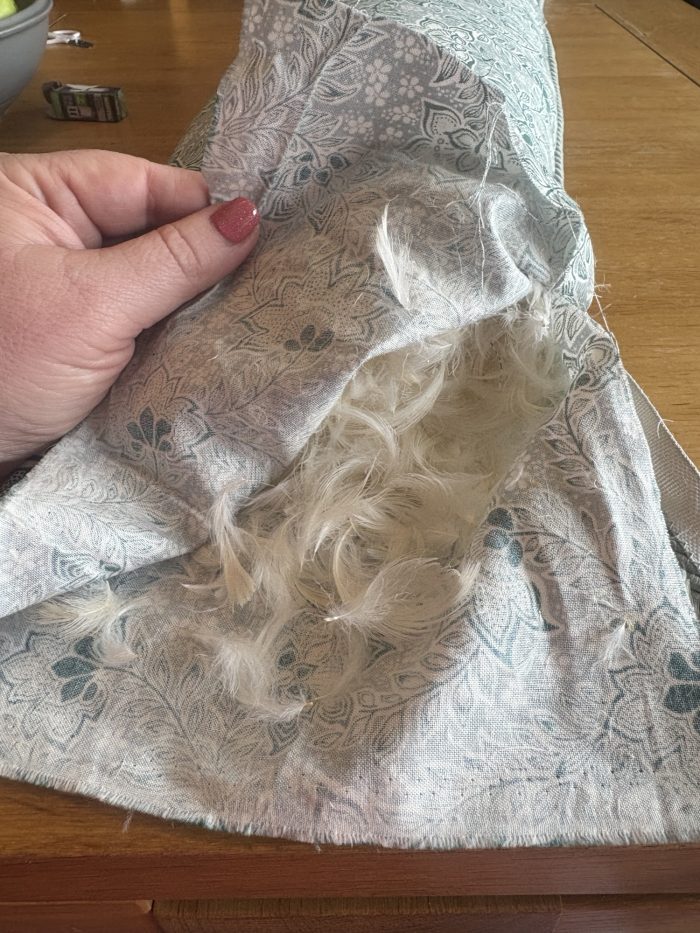
Step 4: Add the Filling
Fill your tube with your chosen filling. Rice or beans will give it weight so it stays put, while fabric scraps or old clothes are a free and eco-friendly option. I actually had a cushion that was no longer used so I swapped the cushion filling from there into my draught excluder. Make sure it’s full enough to block draughts but still flexible to move easily.
Step 5: Seal the End
Once stuffed, fold in the raw edges at the open end and sew it closed neatly. For a quick, no-sew finish, you can tie it off with string or ribbon.

Why Make Your Own?
Cost-effective: Uses up materials you already have.
Eco-friendly: Great way to recycle old clothes and reduce waste.
Custom fit: Perfectly sized for your door.
Cosy home: Stops draughts, keeps warmth in, and reduces energy bills.
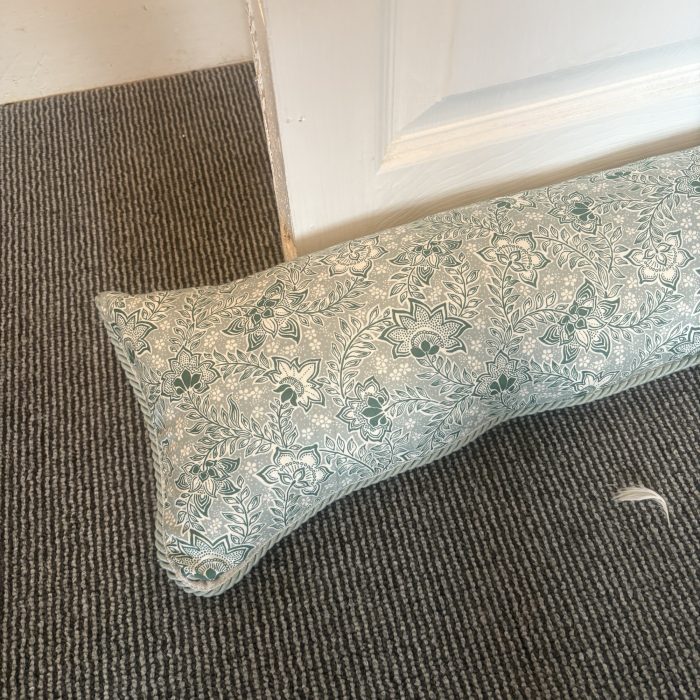
Pop one of these in front of every draughty door, and you’ll soon notice the difference in how warm your home feels – without touching the thermostat.
Don’t miss out on future posts like this – receive updates directly to your inbox by email by adding your email address here and hitting subscribe. You can also follow me on Twitter or BlogLovin and I’d love to see you over on my Facebook page and on Instagram. If you’re interested, you can find out more about me here and while I’ve got your attention, if you’re wondering why some of my posts lately are a little bit less frugal then have a read of this post. 😉
Do your future self a favour – Pin this post for later.


....")